Smoke, Smoke, Smoke that Pap-ri-ka!

I grew up not knowing why people used paprika. I’d occasionally pull out the large, yellow TexJoy container with the mysterious red powder inside. Mysterious because when I tried to smell it, there was no real aroma that I could discern. Likewise, a finger full to my tongue didn’t yield a flavor that I could pinpoint. It just…didn’t taste like much. But when I discovered Hungarian and Spanish Paprika that was smoked, I knew I’d found a new culinary secret.

Or at least new to me. Paprika is one of those spices that’s so prevalent in so many countries, it’s downright confusing these days. Paprika refers to what I’d call a collection of spices that all revolve around one main component- smoked or roasted peppers of the Capsicum Annuum variety. Of course, this means it ranges anywhere between bell peppers, piquant peppers, and chile peppers. Taking the general variety of peppers this encompasses, and how many countries have embraced this spice, it’s no wonder we can’t put it into a single profile.

paprika

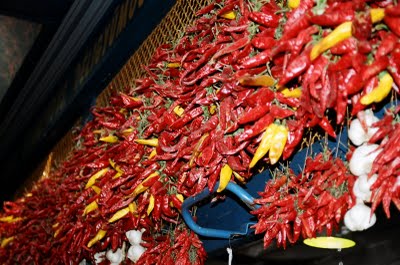
Paprika at a Budapest market (source)

After discovering the wonders of Smoked Paprika, I resolved to use that amazing flavor anywhere I could find an excuse for it! If you can find a good Spanish Paprika that comes in both sweet and hot varieties, you’ve got some great flavor just waiting to be unleashed. The combination of the two rounds out dishes perfectly.

Since we’ve been sitting in the warmer days here in Texas, it’s a good time to look for simpler meals that can be eaten anytime, and cooler dishes that don’t get your body temperature closer to that of a baking sidewalk. That’s why I decided to prepare my simplest Paprika Chicken dish with a refreshing Orzo Pasta Salad. You can substitute farro if you’d like something a little more rustic.

IMG_0927

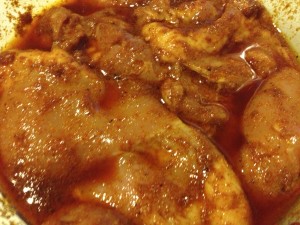
Smoked Paprika Chicken Thighs with Mediterranean Orzo Salad

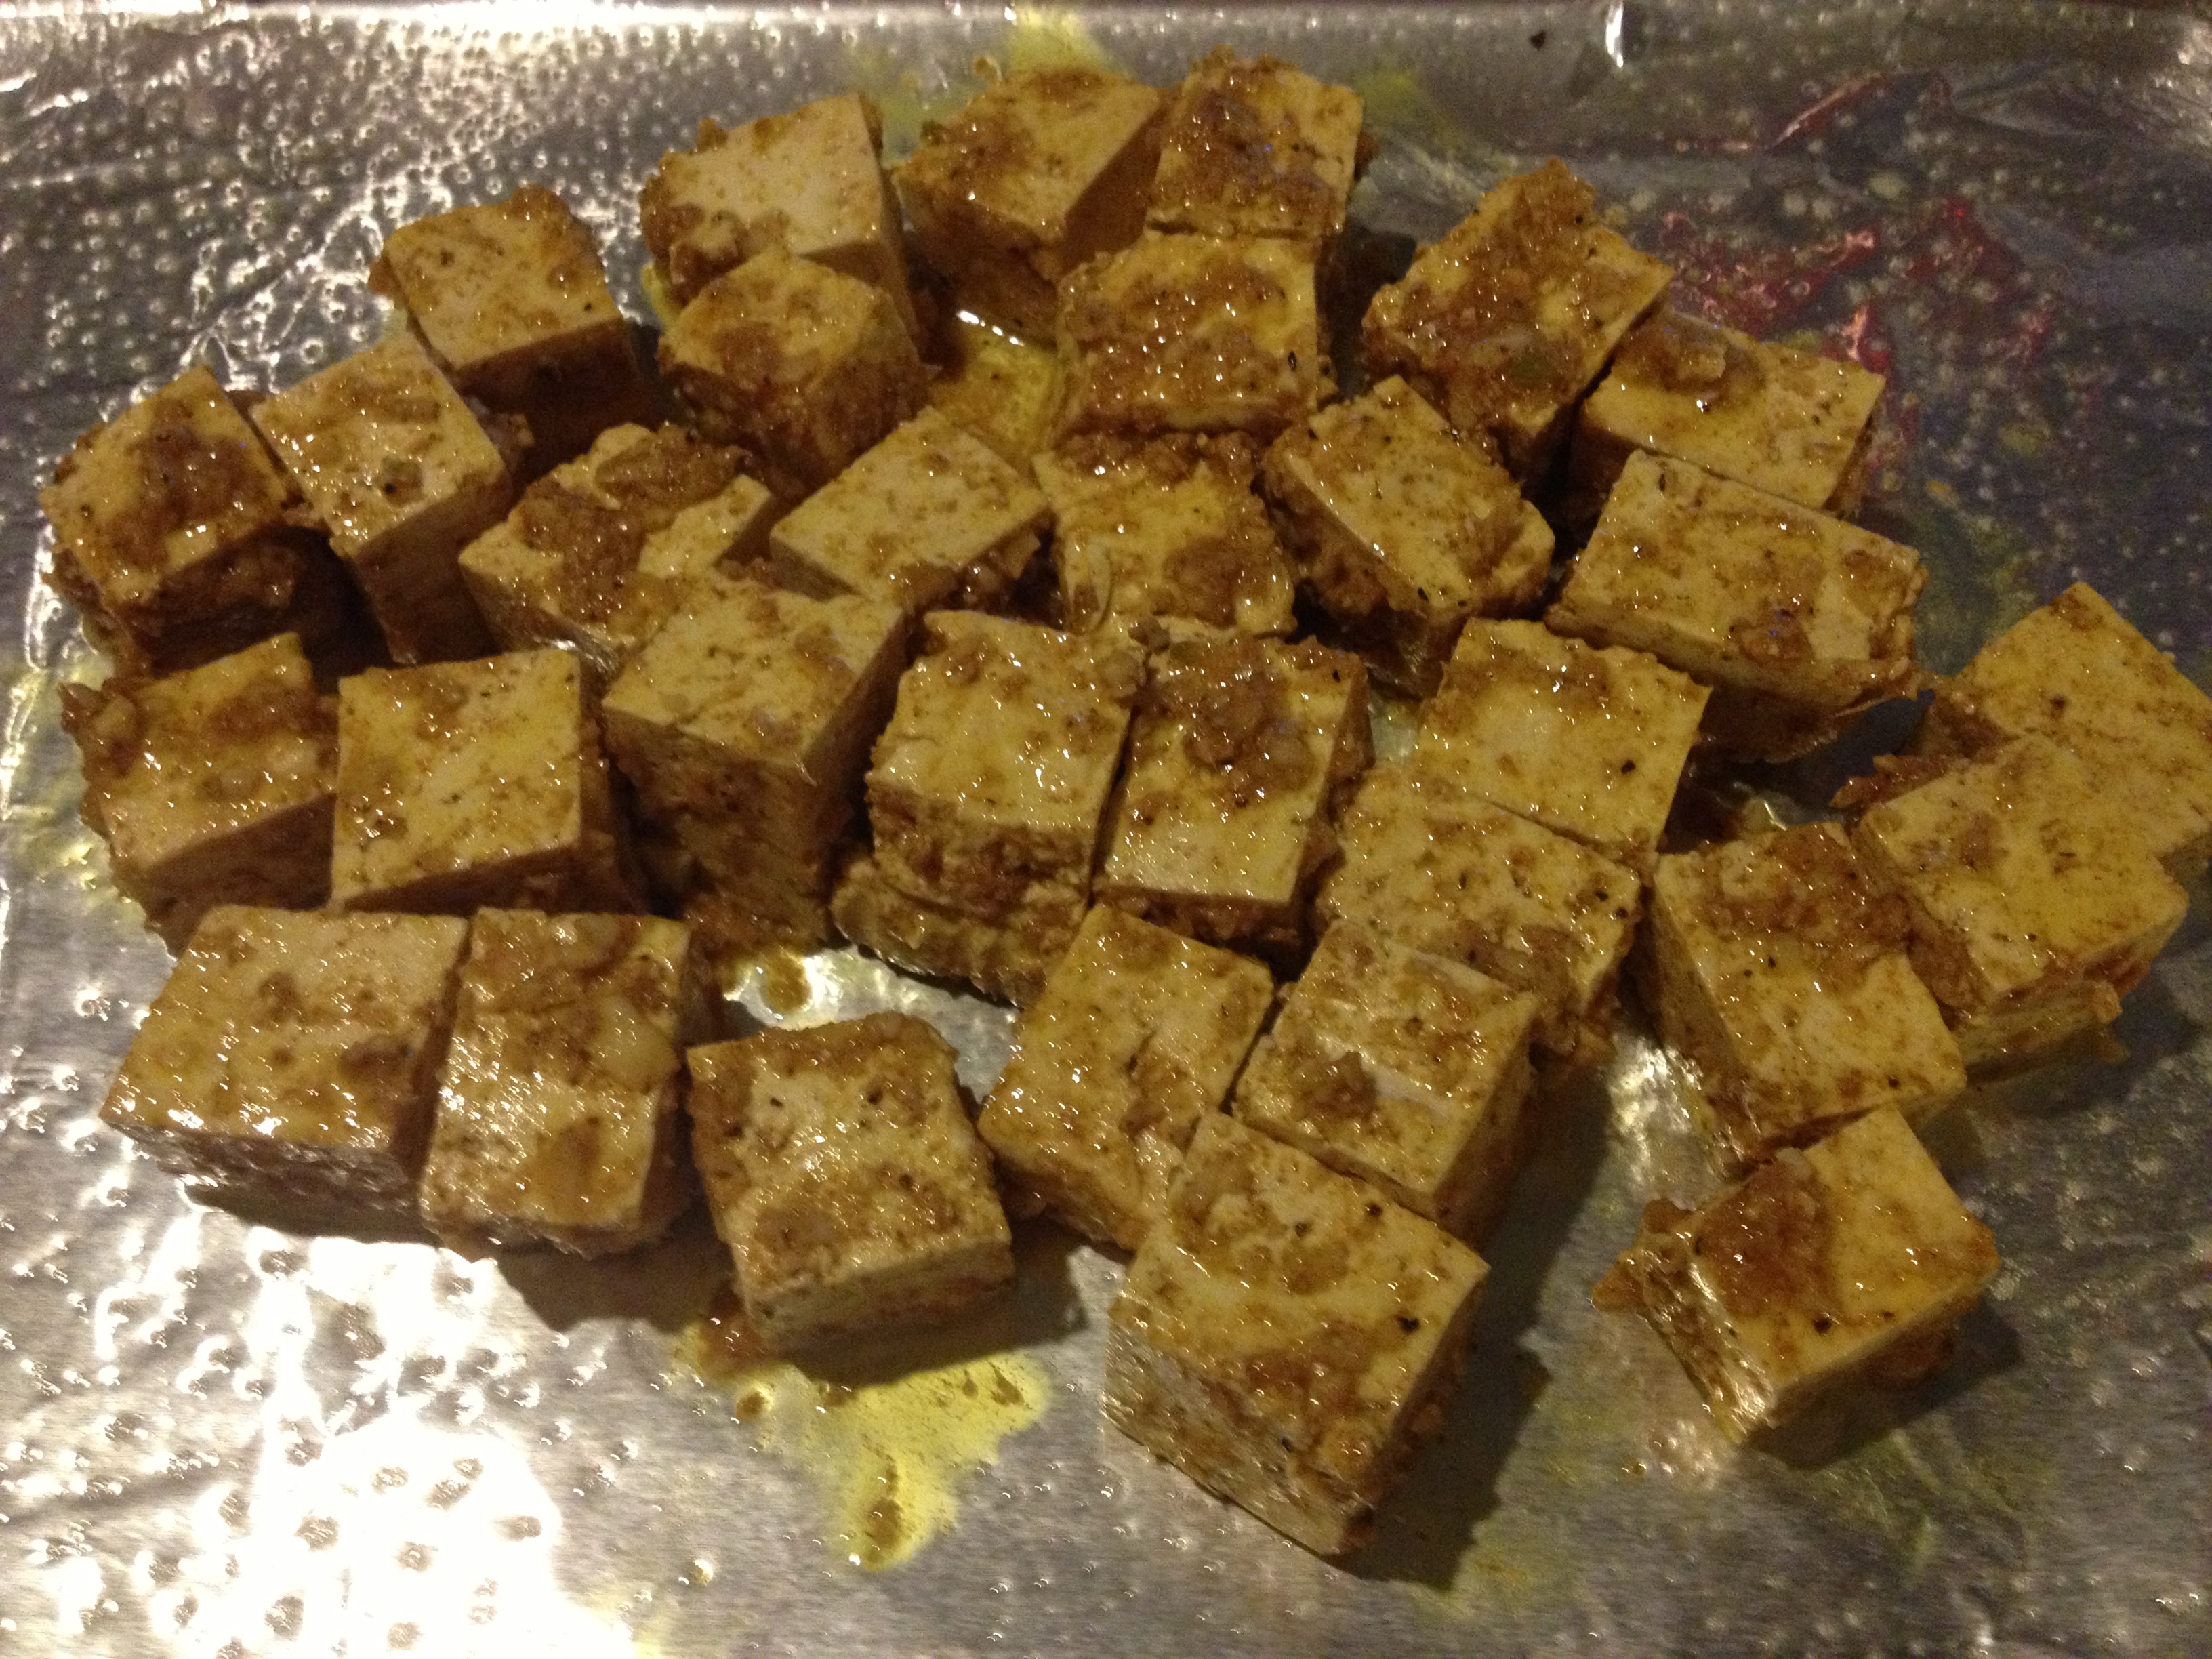
First, get your meat marinating!

  • 8 Chicken Thighs, boneless and skinless
  • 4 T Extra Virgin Olive Oil
  • 2 T Smoked Paprika (1/2 Sweet and 1/2 Hot, preferably)IMG_0920
  • 1 T Garlic Powder
  • 1 T Cumin, ground
  • 2 T Cider Vinegar
  • 1 t Sea Salt
  • Fresh ground pepper

Pre-heat oven to 375, or get your charcoal going, if using a grill.

Combine all above ingredients except the chicken and mix well to form a marinade.
Toss in chicken thighs and mix well to coat. Let marinate for at least 30 minutes to an hour.
When ready, cook the chicken in the oven for about 20 minutes, or grill for 4-5 minutes a side.


While that’s marinating, get your dressing ready and start your water boiling with a sprig of rosemary and a bit of salt in it.
IMG_0921


Sherry Wine Vinaigrette 
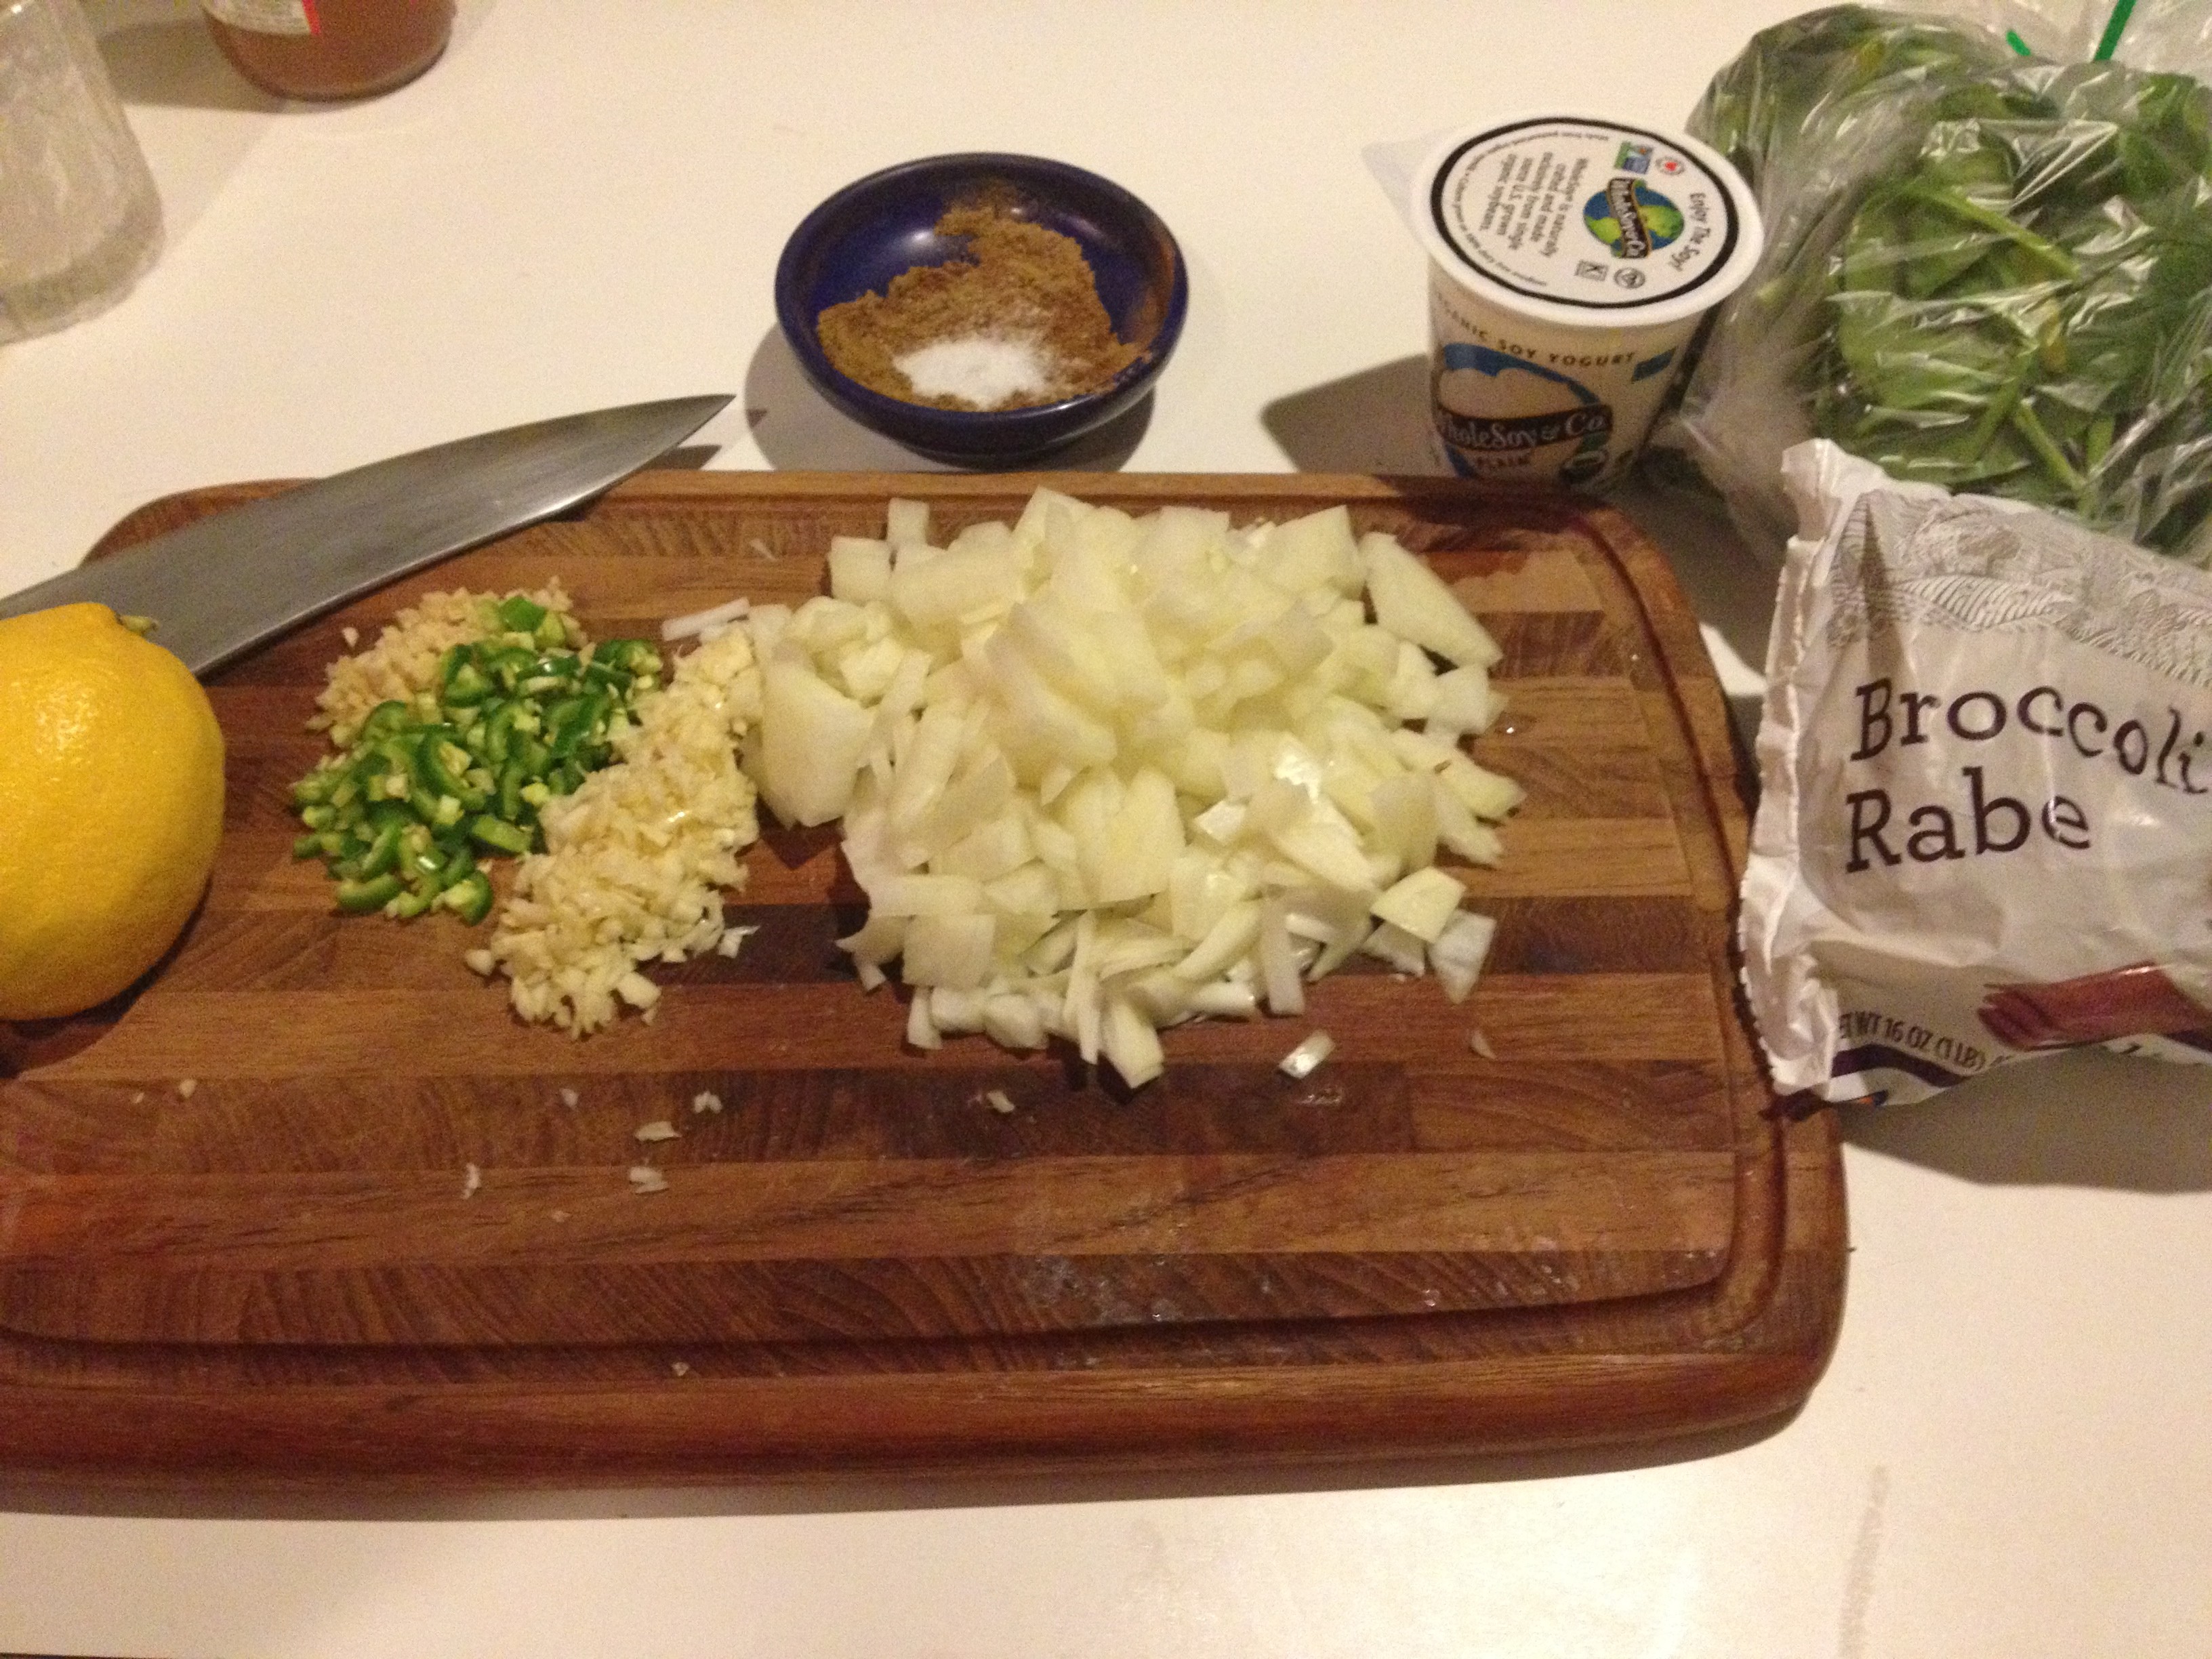
  • 2-3 cloves Garlic, minced
  • 1 T Dijon Mustard
  • 1 T Agave Nectar or Honey
  • Salt and pepper to taste
  • 3/4 cup Extra Virgin Olive Oil
  • 1/4 cup Sherry Vinegar

Mix above ingredients together in a non-reactive bowl and whisk thoroughly.

Now, let’s get that salad working!


Orzo Pasta Salad with Fresh Spinach
  • 1 cup Orzo pastaIMG_0925
  • 1-2 Shallots, sliced
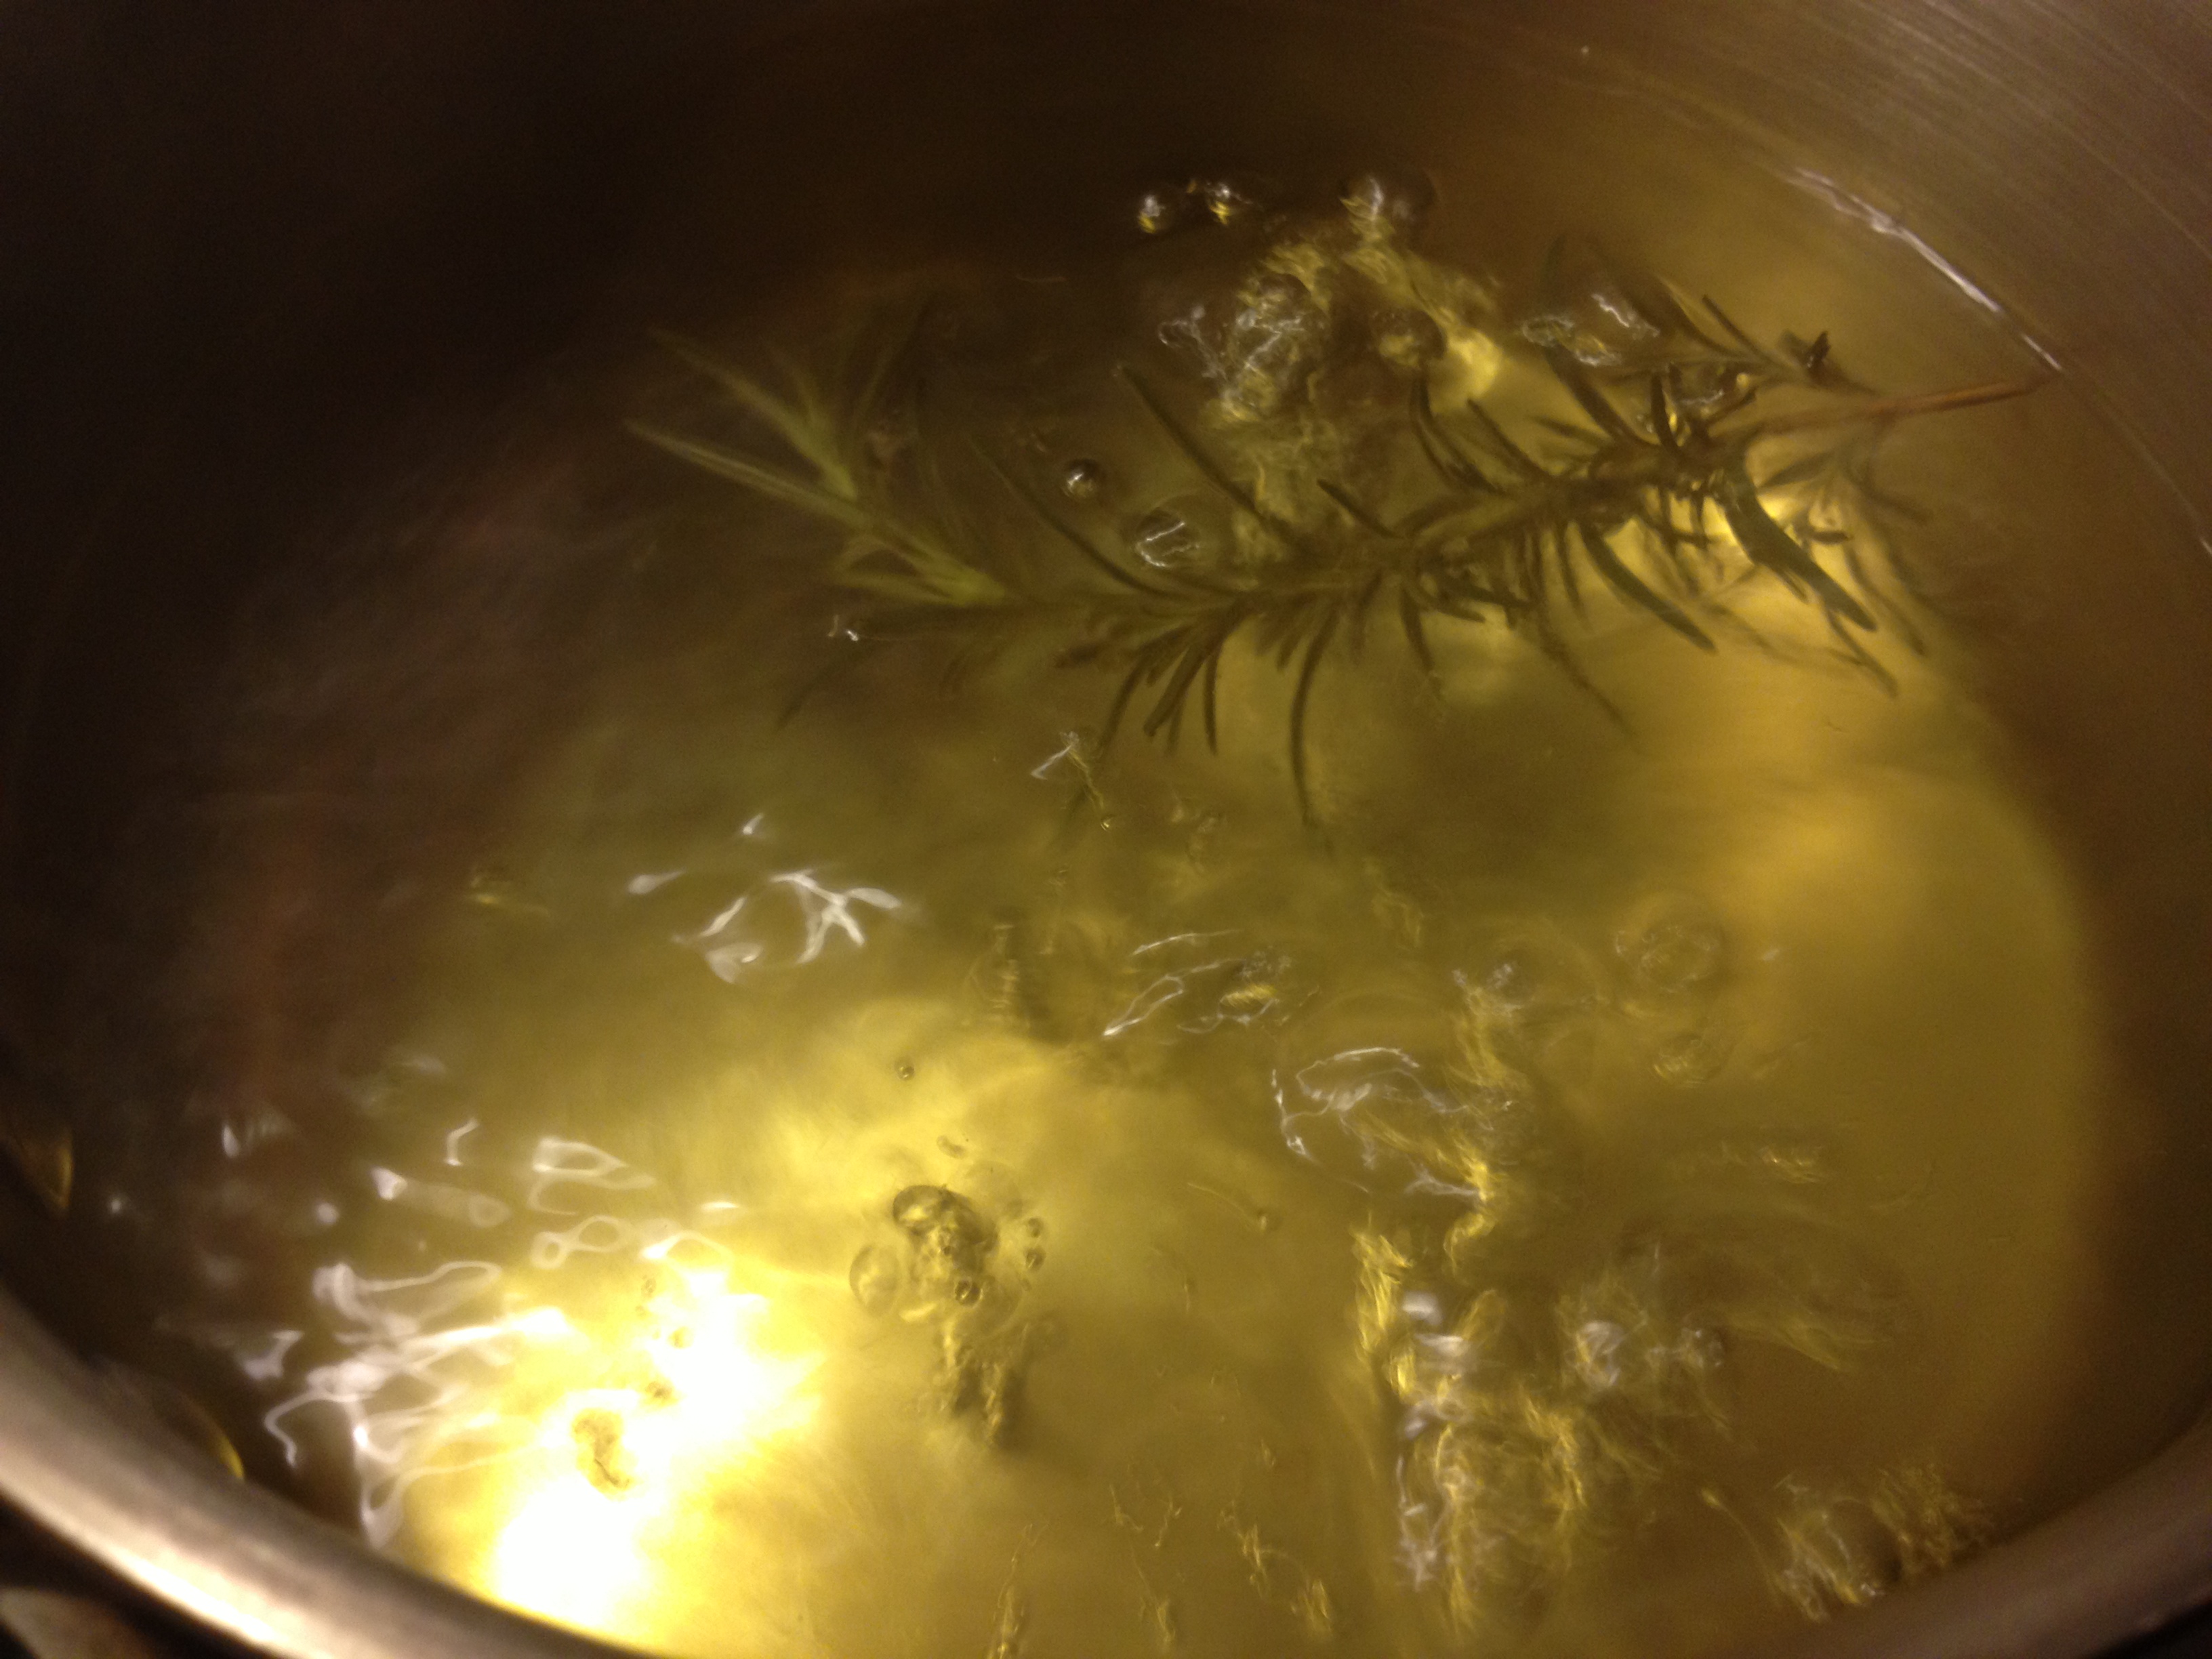
  • 1 sprig Rosemary
  • 1/8 cup Capers
  • 1 Red Bell Pepper, roasted, skinned, and seeded
  • 1-2 handfulls of fresh baby Spinach
  • 1/4 cup Feta, crumbled

Toss the shallots in the vinaigrette and let marinate for about 30 minutes.

Remove rosemary from the boiling water once soft, and stir in pasta. Drain and let cool.

Meanwhile, toss the rest of the vegetables except for spinach into the vinaigrette.

IMG_0926
Once the pasta is ready, toss in the rest of the ingredients. The spinach should wilt a little, but remain mostly raw.


Serve with the chicken and enjoy a light meal that’s full of flavor!

IMG_0928

Cooking classes are heating up!

Do you have a grill that sits around because it’s too intimidating?

Is there a potluck coming up where you’d like to win everyone’s adoration?

Do you need to know what to cook for your next camping trip?

Chef Doryan has you covered!

After a few private classes, we’ve teamed up with Kitchen Underground for a series of cooking classes to help everyone feel more confident in their food-making capabilities. In addition, you can reach out to Chef Doryan to book your own private class, if you don’t see one on Kitchen Underground that suits your schedule’s needs.


Available classes: 

  • Grilling 101-102-103
  • Potluck Prowess
  • Taste of Thai
  • Camping Cuisine and Festival foodz
  • Spanish Tapas
  • Paleo Possibilities and Keto Creations
  • Cooking for Two
  • Mother Sauces (each sauce will have its own class)
  • Using your CSA Box


Make America Pie Again!

A while ago, I gave away some of my new favorite treats for St. Paddy’s and Easter. 

You’re welcome.

And as the 4th of July approached, I saw this post from UseRealButter.com, and decided they would make a great treat to bring around to the many many parties that I was invited to. Ah, the pains of an active social cooking life! Still, as I went around distributing these little pillows of happiness, I realized I missed out on a great opportunity to honor the special day. Heck, why not make them red, white and blue?!


Kid friendly patriotic jello

It’s a safer idea than patriotic Jell-o shots

So I took some time and leftovers, and I came up with a great recipe for red, white, and blue hand pies! I took them to a gathering of friends, and they disappeared faster than potato salad at a picnic!

Patriotic Hand Pies

IMG_1143

Makes about 20 pies

  • 1 package (2 sheets) Puff Pastry
  • 1 Egg, beaten with 2T water
  • 1/2 pint fresh Blueberries
  • 1/2 pint fresh Strawberries, halved and sliced OR whole raspberries
  • Juice and zest of 1 Lemon
  • 1/2 cup Sugar
  • 3 T Corn Starch
  • 1 T Cinnamon
  • 1/2 t Sea Salt
  • 8oz Cream Cheese

-Pre-heat oven to 375.

-Start by mixing sugar, corn starch, and cinnamon together with the lemon zest. Whisk together until well incorporated.IMG_1132

-Next, mix your berries, separately, in two bowls with the salt and lemon juice. Toss in your dry mixture and mix well. if you’re using strawberries, keep in mind they’ll release a lot of liquid. Raspberries won’t, but be careful not to crush them.
IMG_1134IMG_1133

-In using cream cheese, keep in mind it’s not going to be easy to work with. I froze mine and then sliced it into about 20 pieces. These turned quite gooey as they quickly thawed. Make sure you have a knife or small rubber spatula to transfer them.

-Roll out your pastry dough on a well-floured surface, and cut into 10 pieces, repeating with the second sheet.

Now set up your assembly line!

IMG_1135

-Line a cookie sheet with parchment paper or use a Silpat.

-Take each piece of dough, rolling it out a little more, if necessary. Don’t make it too thin! Line up a bit of each of the berries with the cream cheese in the middle. IMG_1137

-Brush the edges with egg wash, fold over, and crimp the edges with a fork. Transfer to the baking sheet.

-Cut a few slits in the top, allowing the pressure to escape.IMG_1139

-Continue until one sheet is full, then brush with egg wash and bake for 20-25 minutes until golden brown. You’ll have to make at least 2 batches, most likely.IMG_1142


Allow these to cool for a bit, then release them to the awaiting masses. You may want to hide a few for yourself!

Vegans need Saag too!

Sometimes you just need some Indian food. Not just “it’d be really nice if I could find some”, but “holy cow I need curry in a hurry” kinda needs. In Austin, there’s even a place called Curry in Hurry just for those needs. And yes, you read that name correctly. Still, they have some great samosas.

Vegetarian Indian food is quite common these days, as many Indian folks follow vegetarian diets. However, the stretch from vegetarian to vegan can seem a wide gulf with a cuisine who’s flavor in greatly increased by cream and clarified butter. Seriously, you don’t want to know how much ghee is in most of those dishes.

Ghee3

About this much?

Still, there are ways around the butter and cream. They’re not always going to be low-fat, but if you’re sensitive to dairy or cooking for vegan friends, this works well. One of my Indian comfort dishes is Saag Paneer, so I jazzed this up a bit with some peppery Broccoli Rabe and paired it with a Butternut Squash Masala that worked well as a chutney. Hope you enjoy it!

Vegan Saag “Paneer” with Broccoli Rabe and Butternut Chutney

First, for timing’s sake, start with the Butternut SquashIMG_0896

1/2 butternut squash, or 1 bag frozen cubes
1 red onion, dicedIMG_0897
2 T vegetable oil
6 cloves garlic
1 inch ginger
1-2 Serranos, chopped
Agave nectar
Cider vinegar
1/2 t Turmeric
1/2 t Cinnamon
1 t Garam masala

IMG_0898

  • Blend everything but the onion, peppers and squash in a processor and blend until smooth.
  • Toss the veggies in the mixture and roast in the oven for 30 minutes at 375.
  • Move to a pan over low heat, add a bit more vinegar or some lime juice and simmer, covered, for another 20 minutes, until soft and just a little bit saucy.


While that’s preparing, get your tofu started. You’ll need to press it for a while to get a good texture.

IMG_0895

Perhaps under some of your favorite cookbooks?


Tofu Paneer

IMG_0899Firm tofu, pressed and cut in squares
1/2 inch ginger
5 cloves garlic
2 t red wine vinegar
1 t garam masala
1/2 t turmeric
Salt
2 T vegetable oil


  • Press the tofu for an hour.
  • Cut in bite-sized cubes.
  • Blend the other ingredients until smooth and toss with the tofu to marinate for at least 30 minutes.
  • Bake at 400 for 20 minutes. They should look nicely browned, like thisIMG_0902


While those are roasting in the oven, get started on your Saag. You can use just spinach for this, or alter the ratio of spinach to rabe. Either way, you’ll get a better ending consistency if it’s well chopped. Mine tasted fine, but next time I’ll chop it more.


Vegan Saag

IMG_09001 onion, chopped
6 cloves garlic, minced
1/2 inch ginger, minced
1 lb broccoli rabe, choppedIMG_0901
1/2 lb spinach, chopped
1-2 serranos, finely chopped
1 T salt
1 T garam masala
1 t cumin
1 t coriander
2 T red wine vinegar
1 c vegan yogurt or Coconut Milk
juice of 1 lemon
1 stick Earth Balance


IMG_0904Sauté the onion in 1 tablespoon of the Earth Balance until translucent.

Add in your peppers, garlic, ginger, and spices and let them toast for a few minutes on a low to medium-low heat.

Deglaze with the vinegar and stir in the greens and lemon. Let simmer for 20 minutes.

Mix in the yogurt or coconut milk and simmer for 10 more minutes.

Finally, fold in the Paneer and the rest of the Earth Balance, allowing it to melt into the spinach mix.


Serve over rice and top with chutney. It’s got quite a bit of heat!

IMG_0905

A Precocious Paleo Pot Roast

As the mercury falls, and fireplaces warm your hearth, it’s time to warm your insides with some great comfort food. Comfort food, as we all know, is more of a fancified way of referring to things that will pack on that extra layer that will not only keep us warmer in the winter months, but can also be well hidden by a stylish coat and hat.

Of course, if you’re on a paleo diet, you’re likely still working out a lot, so you’re going to need this high-protein, low-carb meal to keep you in proper form through the icy chill.

And, naturally, we here in Texas are experiencing a severe lack of winter-y weather, so with a precocious spring heading our way, we’ll enjoy our last excuses to make comfort food!


Paleo Pot  Roast wrapped in Pork Belly

1 medium piece Yuca, peeled and chopped
3 Carrots, sliced
1 Leek, halved and sliced
15 cloves Garlic, halved lengthwise
3 T Coconut Oil
2 T Paprika
2 T Garlic Pepper
2 T Sea Salt
2 T Coriander, ground
3 T Thyme, dried
3 T prepared Mustard
3 T Ume Plum Vinegar
2 lb Beef Rump Roast
1/2 lb Pork Belly, sliced
2 cups Red Wine
3 cups Beef Stock
6 oz. Coca Cola, optional (because cavemen didn’t have it)

NOTE: Yuca roots are delicious and also not the most fun things to deal with. One thing you’ll note is that you’ll get pieces that are terribly woody in texture. One way to get rid of that is this:

  • Slice the peeled yuca lengthwise and look for something resembling veins.
  • Starting at the bottom, make a couple of incisions on either side of where the root attached, forming a “v” on either side of the main vein.
  • If you’re lucky, you can get that, and pull the whole thing out. If not, just continue that “v” cut all the way up the inside of the yuca to get as much out as possible.
  • Now, it’s ready to chop up!

Ok, moving on…

Preheat oven to 400 degrees.

Cut 1st 4 ingredients as described above and set aside.

Combine next 8 ingredients together to form a paste, and cover the roast in it completely.

Wrap the top of the roast with pork belly and set in the middle of a roasting pan.

Toss in the rest of the vegetables, stock, wine and soda into the pan.

Season liquid with a bit of salt and pepper.

Put roast in oven, uncovered, at 400 for 25-30 minutes.


Reduce heat to 300, cover with foil, and let roast for 3-4 hours.


For best results, let sit in the fridge overnight, skim fat from the top, and reheat in the oven at 300 for another hour, uncovered. Turn over once halfway. Then remove the pork belly, chop it up, and mix in with the veggies and sauce.


Enjoy!

Grain-free Green Chile Enchilada Casserole

I didn’t get to take all the pics on this one that I wanted to, because this was one of those “I wonder if I can make that work” moments. And I did! In fact, I almost want to go back and try this one again with many other options, like lasagna or just about any other kind of layered casserole.

I’m back on the low-carb train, trying to get back down to my fightin’ weight, or at least fit back into that kilt I bought in Scotland back in college. I lost 20 lbs the first time I did this, so we’ll see how well I do this time.

One thing I definitely miss is tex mex when I’m on this diet, so I had this idea for a while and finally decided to try it out at one of my weekend shindigs. Instead of using tortillas, I made 3 thin versions of my Cauliflower pizza crust, and layered them together. It was AMAZING!!

Cauliflower Pizza Crust

  • 1 head of cauliflower
  • 2oz cream cheese
  • 2 eggs
  • handful of grated cheese (about 1/2-3/4 cup)
  • Salt and pepper
  • Paprika
  • Parchment Paper
  1. Pre-heat oven to 375.
  2. Shred/rice the cauliflower in your food processor (or just go buy the bagged stuff at the store, but it won’t keep as long).
  3. Put it in a bowl and toss it in the microwave for around 4-5 minutes.
  4. Throw all of that in a kitchen linen, and give it a squeeze to get all of the water out.
  5. While you’re doing that, Cut the cream cheese into pieces and throw it in the hot bowl the cauliflower was in, so it’ll start getting soft.
  6. Add the squeezed-out cauliflower rice, eggs, cheese, and seasoning. Paprika helps with the color as well as a bit of flavor. Mix well.
  7. Spread out on parchment-lined baking sheets and bake for 25 minutes at 375. Voila!

NOTE: This recipe makes roughly 2 pizza crusts that are of decent thickness and can be picked up like a piece of pizza when topped. For this project, spread the “batter” a bit thinner, and you’ll get 3-4, which will be perfect for your needs here.

Green Chile Sauce

  • 1 onion, chopped
  • 6-8 cloves garlic, minced
  • 1 bin of Bueno Frozen Green Chile, or a fair amount of roasted Hatch chiles, seeded and chopped
  • 1T Oregano
  • 2t Thyme
  • Red wine vinegar
  • 1T Arrowroot or cornstarch, stirred into a bit of water
  • 1 cup stock or water
  • Salt and pepper


  1. Saute the onion first, until translucent.
  2. Add garlic, chiles, and herbs. After a minute or two, deglaze with the vinegar.
  3. Add stock and simmer for a bit. Set aside ~a cup of the veggies to use as enchilada filling.
  4. Blend using a processor, blender, or immersion blender until it’s nice and smooth. Return to heat.
  5. Stir in your thickener and allow to thicken up a bit. Season to taste.


Green Chile Chicken Enchiladas!

Here we go!

  • 3-4 Cauliflower pizza crusts
  • 1 recipe Green Chile Sauce
  • 1 Rotisserie Chicken
  • Cheese
  1. Pre-heat oven to 375.
  2. Cut pizza crusts into large/medium pieces, so they’re easier to work with.
  3. Dismantle and shred the chicken.
  4. Toss chicken in a pan with a bit of the Green Chile Sauce, as well as the cup of sauce veggies you set aside. Let it heat through and gain some flavor.
  5. Ladle a bit of sauce on the bottom of a 8×13 or 9/13 Pyrex. Spread it around to cover.
  6. Layer away! Start with the cauliflower “tortillas”, then cheese, chicken mix, and a bit of sauce. Repeat until you have one layer of cauliflower on top, then you just top with sauce and cheese.
  7. DON’T OVER SAUCE! It’s a mistake I’ve made too many times. Just enough to lightly cover each layer. Remember, these flatbreads won’t absorb like a tortilla will.
  8. Toss in the oven at 375 and bake around 30 minutes.
  9. Remove from oven and let it cool. This is important. There will be some watery sauce at the bottom, but it’ll thicken up as it cools.


Honestly, for best results, make this a day ahead. The flavors get more chance to meld that way.

Cut some slices and serve! You can top with more green chile and/or a bit of crema!

Heck, when you’re tired of the leftovers, cut it in smaller pieces, fry it up in a skillet, and make Chiliquiles with an egg over the top!

Enjoy!